
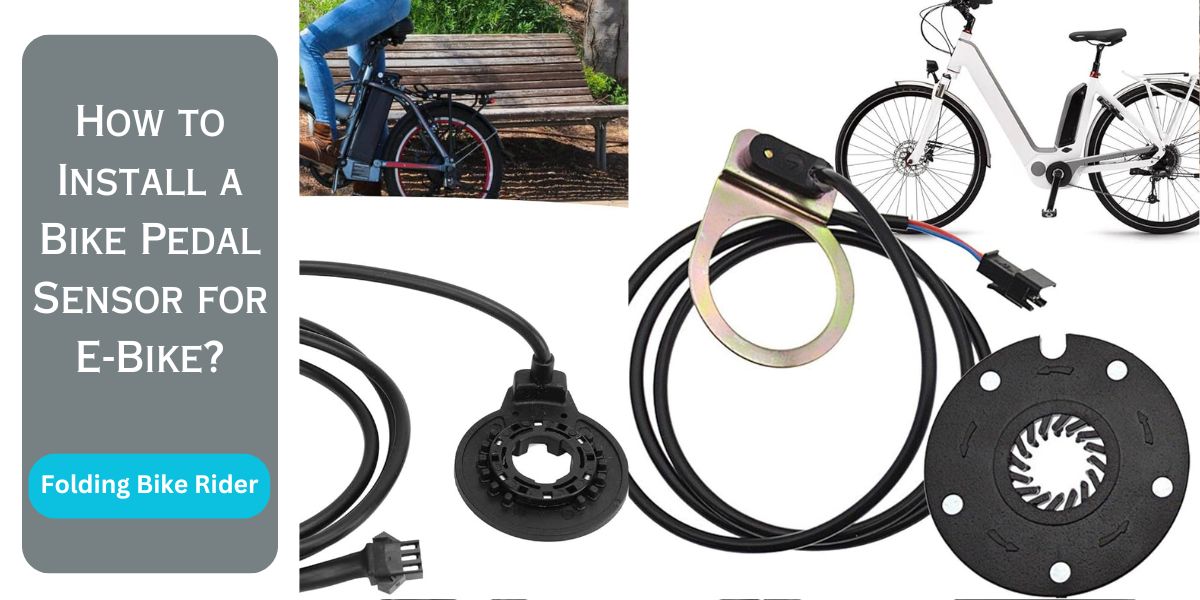
A bike pedal sensor helps track your e-bike’s performance and assists with electric motor engagement. You can install it by carefully mounting the sensor near the pedal cranks, connecting the wire harness, and calibrating it with your e-bike’s control system.
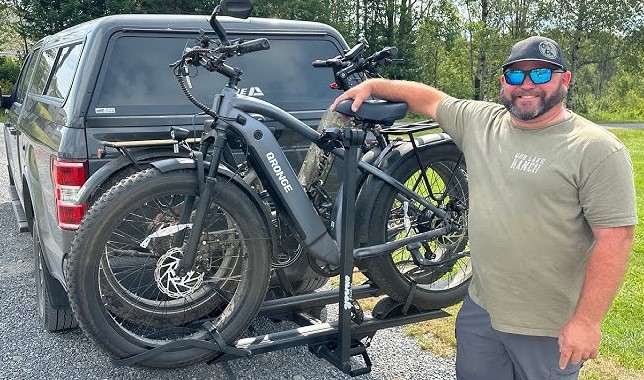
Electric bikes have transformed personal transportation, offering an eco-friendly and efficient way to travel. Among the most critical components of an e-bike is the pedal sensor, which acts as the bridge between human power and electric assistance.
What is a Bike Pedal Sensor?
A bike pedal sensor detects your pedaling motion and tells the electric motor when to provide assistance. This smart device monitors your cycling effort, ensuring smooth and efficient power delivery.
Types of Bike Pedal Sensors
1. Cadence Sensors
- Tracks pedal rotation speed
- Helps measure cycling rhythm
- Provides basic performance data
2. Torque Sensors
- Measures actual pedaling force
- Delivers precise electric motor assistance
- More advanced and expensive option
3. Magnetic Pedal Sensors
- Uses magnetic field to detect pedaling
- Highly accurate
- Works well in various weather conditions
Tools You’ll Need for Installation
Before starting, gather these essential tools:
- Allen wrench set
- Screwdriver
- Wire cutters
- Electrical tape
- Zip ties
- Multimeter
- Cleaning cloth
Preparation Steps
1. Safety First
- Wear protective gloves
- Work in a well-lit, clean area
- Disconnect e-bike battery before installation
2. Understand Your E-Bike Model
- Check manufacturer’s manual
- Identify specific sensor mounting points
- Review wiring diagrams
Detailed Installation Process
Step 1: Remove Existing Components
- Carefully remove pedal cranks
- Clean mounting area thoroughly
- Inspect for any damage or rust
Step 2: Position the Sensor
- Align sensor near pedal bracket
- Ensure perfect alignment with magnetic points
- Keep sensor away from extreme heat or moisture
Step 3: Secure Sensor Mounting
- Use provided brackets or custom mounts
- Tighten bolts evenly
- Avoid over-tightening to prevent damage
Step 4: Connect Electrical Connections
- Match wire colors precisely
- Use heat shrink tubing for protection
- Secure connections with electrical tape
Step 5: Wire Management
- Route wires carefully
- Use zip ties for cable organization
- Prevent wire interference with moving parts
Calibration Techniques
Magnetic Sensor Calibration
- Start with pedals in horizontal position
- Rotate slowly through complete revolution
- Verify sensor response on display
Torque Sensor Setup
- Perform zero-offset calibration
- Sit stationary on bike
- Follow manufacturer’s specific instructions
Common Installation Challenges
Wiring Issues
- Check wire continuity
- Test connections with multimeter
- Replace damaged wires immediately
Sensor Misalignment
- Use spacers if needed
- Ensure precise positioning
- Realign if motor response feels inconsistent
Maintenance Tips
Regular Checks
- Inspect sensor monthly
- Clean connections
- Check for wire wear
- Verify tight mounting
Troubleshooting
- Reset system if performance drops
- Update firmware when available
- Contact manufacturer for persistent issues
Cost Considerations
Sensor Prices
- Basic cadence sensors: $20-$50
- Advanced torque sensors: $100-$250
- Professional installation: $50-$150
Environmental Benefits
Sustainable Transportation
- Reduces carbon emissions
- Promotes clean energy usage
- Supports personal fitness goals
Conclusion
Installing a bike pedal sensor transforms your e-bike’s performance. Follow these steps carefully, and you’ll enjoy a smoother, more efficient riding experience.
Final Recommendations
- Read manual thoroughly
- Take time during installation
- Practice proper maintenance
- Seek professional help if unsure
Quick Troubleshooting Checklist
- Check wire connections
- Verify sensor alignment
- Test battery connections
- Update system firmware
Happy cycling and enjoy your enhanced e-bike experience!


Leave a Reply